Your Guide to Glass Drilling: Essential Steps to Take
May 09, 2019

Whether you're working on a home decor piece or a professional project, you may run into trouble when trying to properly drill glass. If you treat this material in the same way you do wood, you could end up ruining the glass or breaking the bits you typically store in your drill bit organizer. In order to drill glass the right way, you'll need to take the right precautions. Here are some essential steps to follow.
Choose the Optimal Materials
You'll need to use the right glass, the right drill, and the right drill bits in order to accomplish your goals. For one thing, you cannot drill tempered glass or safety glass, as you'll need specialized equipment to do so. While some of this equipment may be available from your favorite industrial tool company, you'll have a much easier time if you use a regular glass pane or mirror. You should also ensure that your glass is the right size and thickness for what you need.
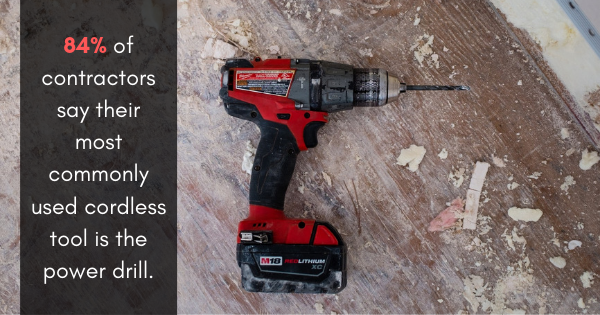
Once you've chosen your glass, you'll want to invest in the best kind of drill for this job. Although 84% of contractors say their most commonly used cordless tool is the power drill, you'll need to make certain that you're using a variable speed drill for this purpose. You can find these drills when looking at industrial tools online. Having the option for different speeds is key when drilling glass.
Although you probably have viable options sitting in your drill bit storage solution for all kinds of projects, those bits may have to stay in your drill bit storage container for another time. That's because you'll need to use special glass drill bits for this occasion. These drill bits are typically spade shaped and are made of tungsten carbide, which can withstand the amount of friction produced during the glass drilling process. As another option, you can use diamond drill bits. While you may not already have these in your existing drill bit storage organizer, most tool supply companies will carry either option.
Before you start, you will also need a cushioning material or a piece of cardboard on which to place the glass to prevent slipping, as well as some oil or water spray to prevent heat shock and make the drilling easier. Remember to keep water far away from any electrical components!
Measure and Secure
Now that you've gathered the necessary materials, it's time to set up your work station. You'll need to measure the glass to determine where the holes need to go. Keep in mind that you should not drill any holes within three-quarters of an inch from any edge, as this can make the material unstable and result in cracks or breakage.
Once you've measured where the holes will be drilled, you can secure the glass material. Because it's so smooth and slippery, the glass needs some extra support to stay in place. You can use some thick cardboard, a rubber pad, or some type of flat cushioning to accomplish this, as long as the material lays evenly.
Start to Drill
At this point, you may want to pour a bit of oil or spray the glass with a bit of water to lubricate the area and ease the drilling process. It's best to start off with a smaller drill bit in the center of the area where the hole will go. Use constant, light pressure on the drill to prevent cracking. Go slowly and at lower speeds. Before you drill completely through to the other side, stop drilling and flip the glass over to the other side. Complete the hole by drilling this way to avoid chipping. If you need to increase the size of the hole, you can repeat the process using increasingly larger drill bits (which you can keep in your drill bit storage organizer until you need them). Don't rush this process, as the glass can also break during this stage.
Before too long, you'll have a perfectly drilled piece of glass. For more information on the tools you need to complete projects like these, please contact us today.

 714.897.1700
 Chat
Chat
 Email
Email
 844.548.0100
 Quotes
 Quick Order