Roemheld Robust Swing Clamp Long Arms
Robust long clamping arm, for B1.852, B1.853, B1.854 swing clamps. Long blank arms can be used "as is" or machined down to the desired length. When used "as is" maximum operating pressure is 150 bar.
Application Information
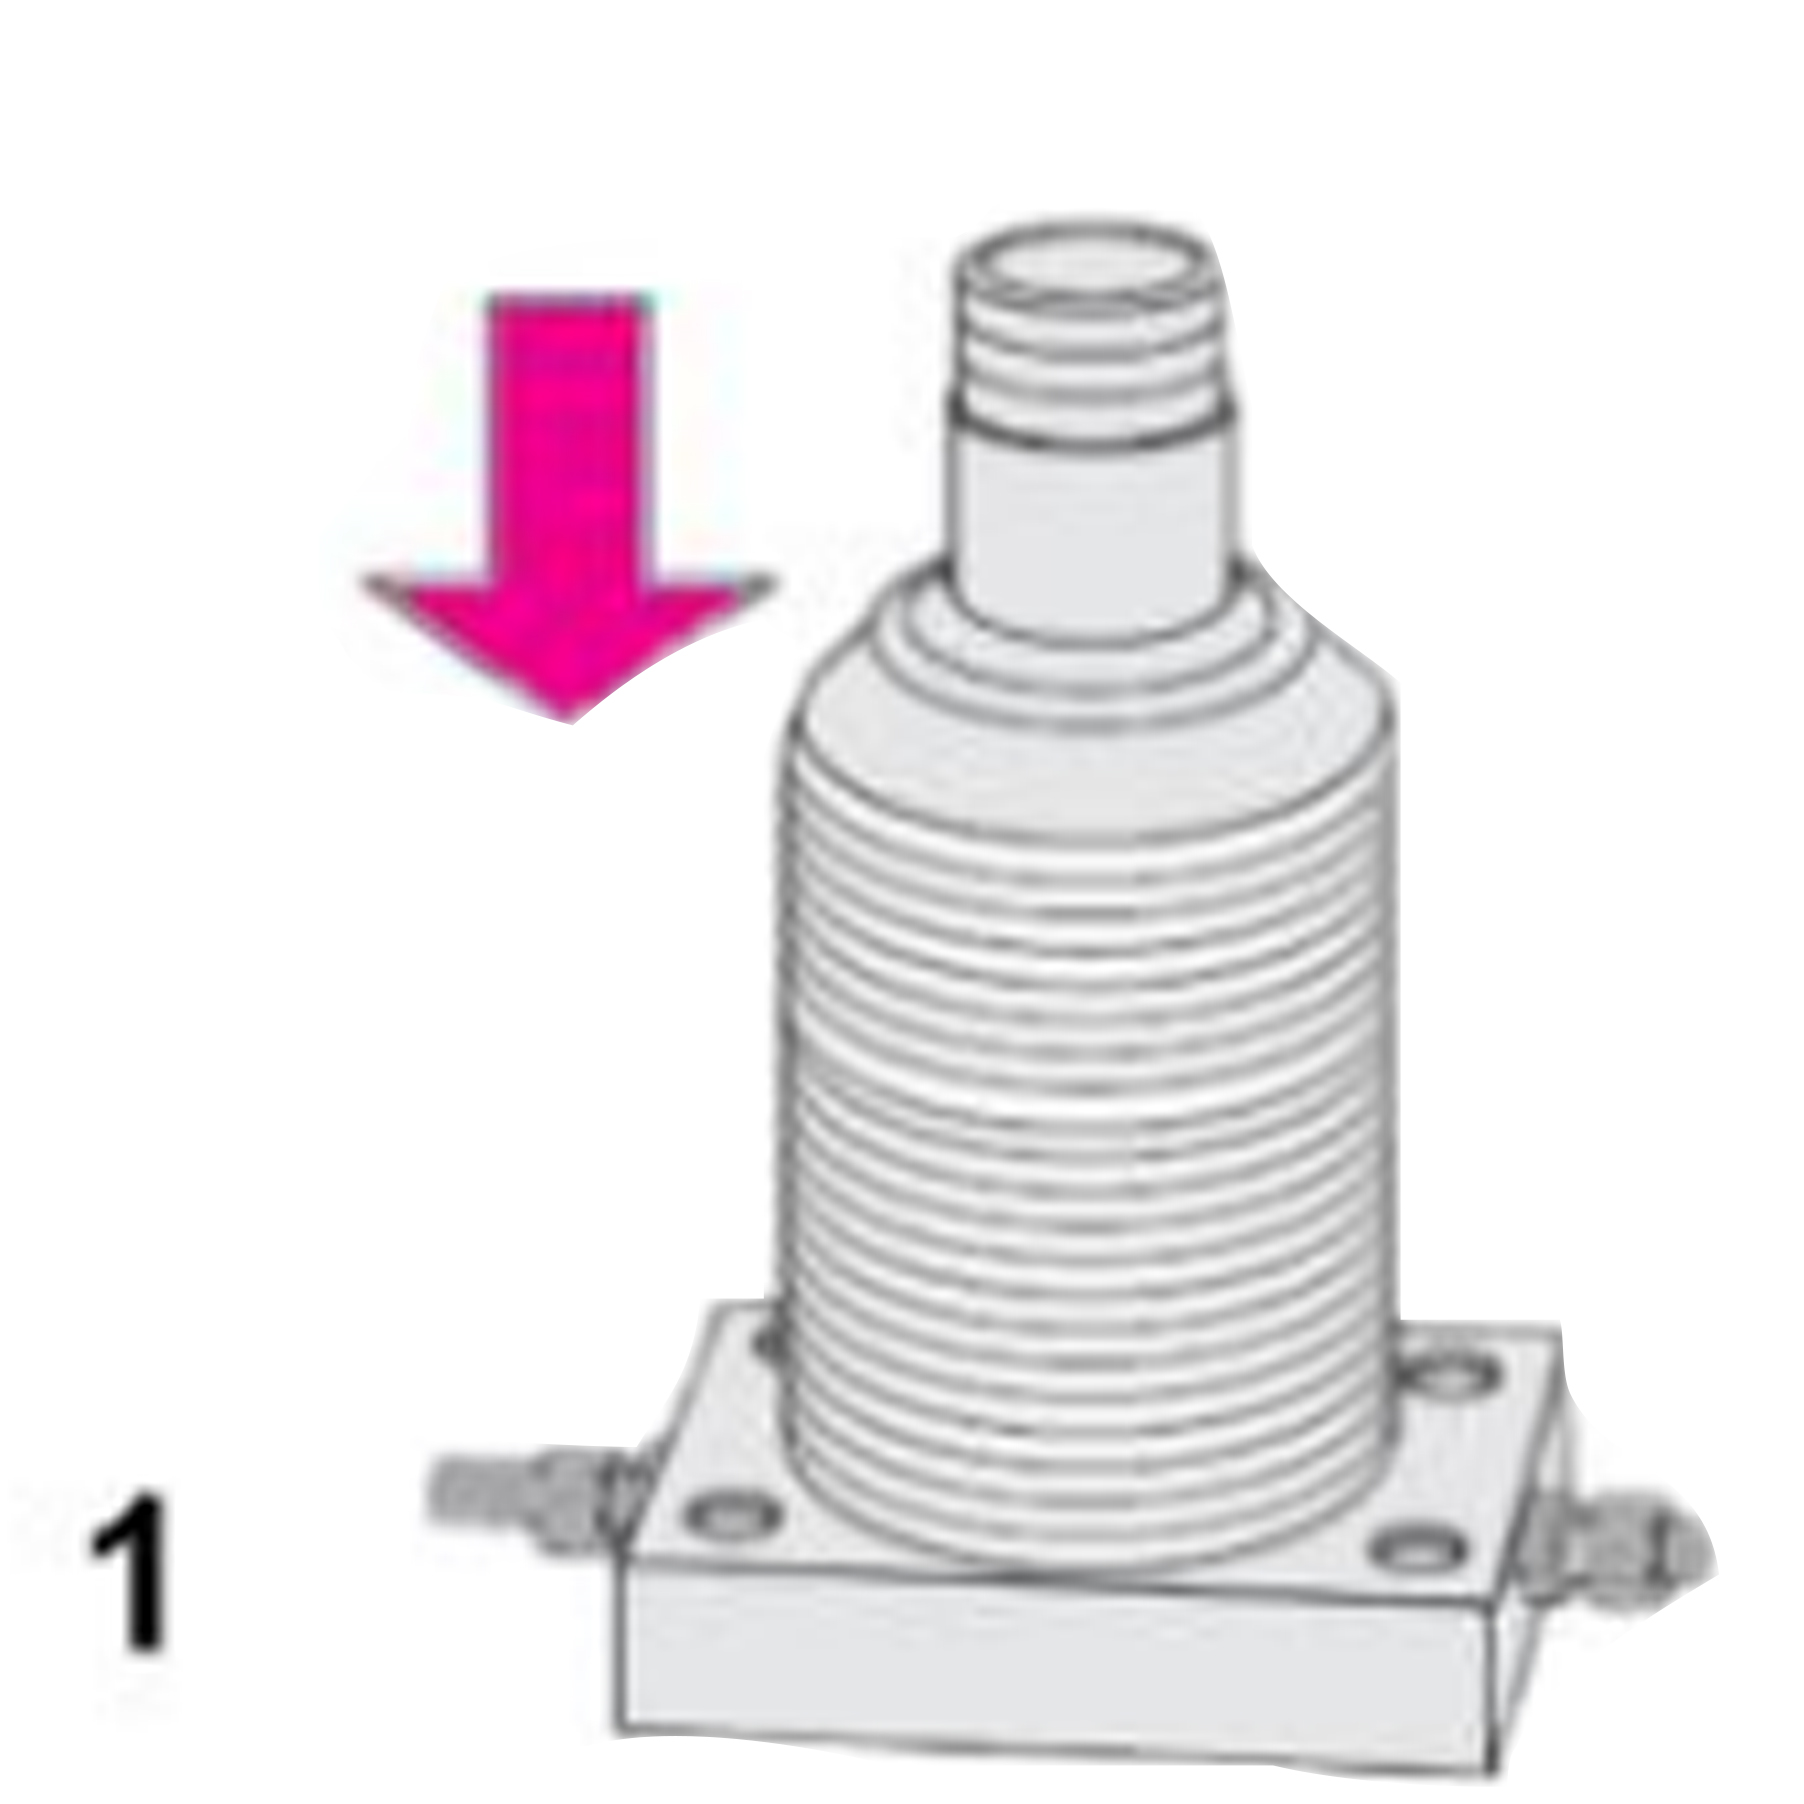
Assembly of the clamping arm-Pressurized1. Start by retracting the piston by pressurizing clamping line (port A) (Fig. Assembly, Position. 1).
2. Next, insert the clamping arm in the specified clamping position.
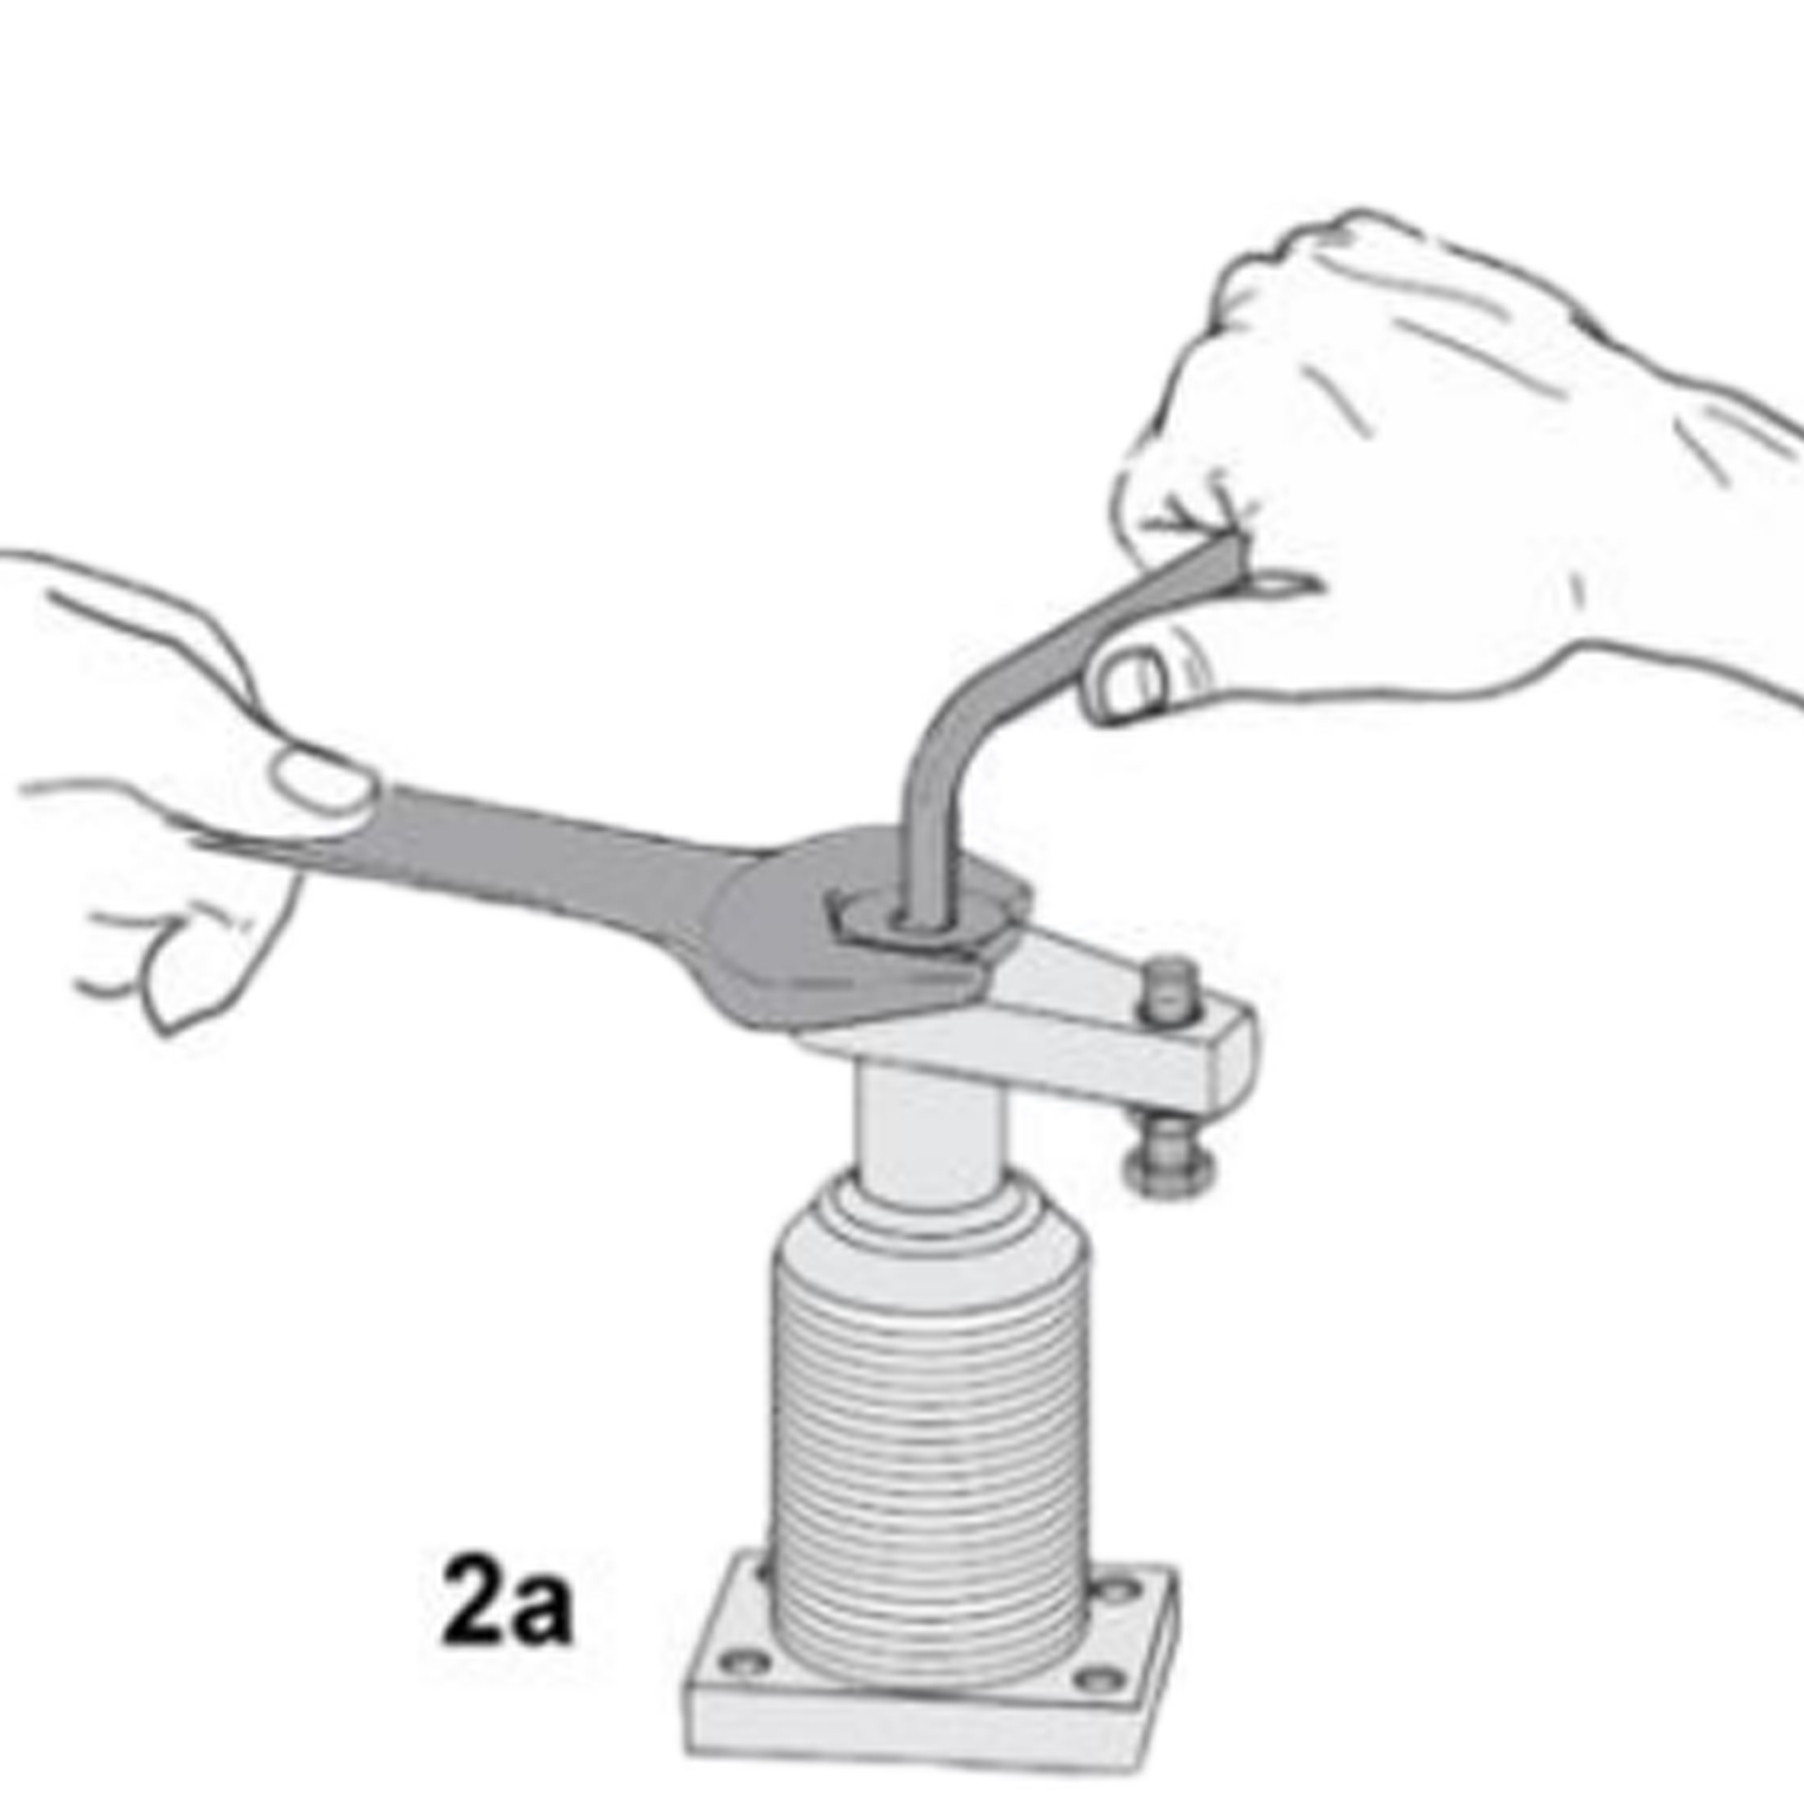
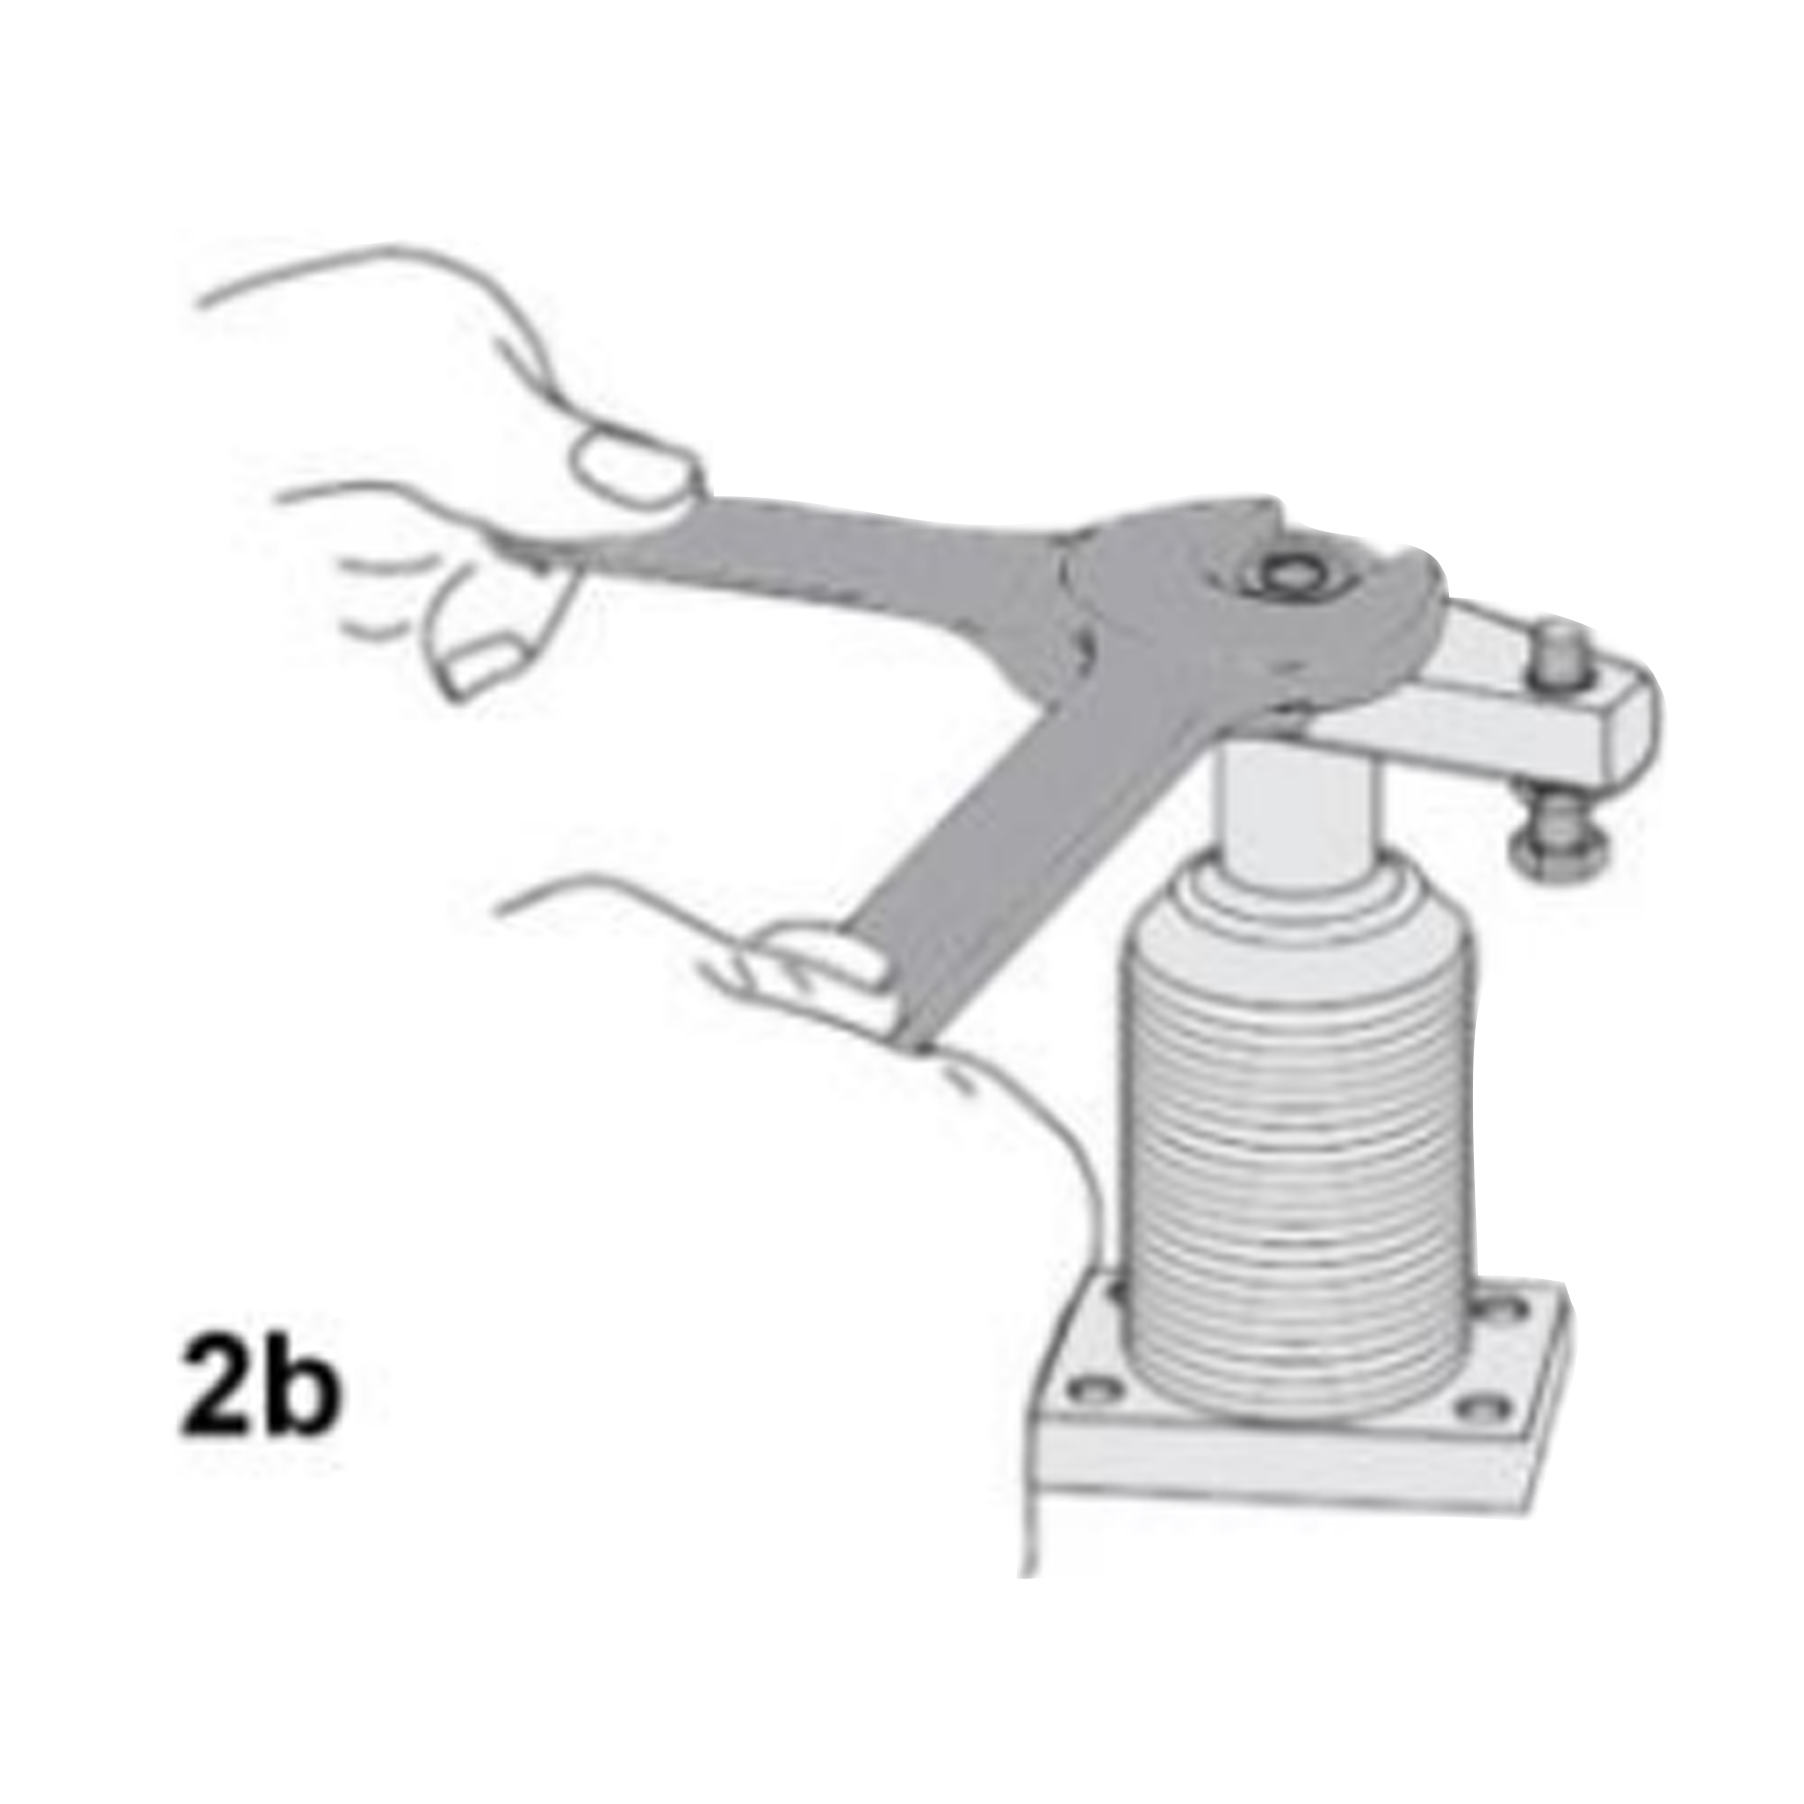
3. Then, fasten the fixing nut while holding the piston rod stationary with an allen key. If the end of the piston rod does not have an allen key, a wrench will be needed to hold the arm stationary while tightening the fixing nut. The tightening torque of the fixing nut for the clamping arm can be seen in the technical characteristics. (Fig. Assembly, Pos. 2).
4. Be sure to unclamp/clamp several times.
5. Finally, check to see if the clamping point is within the clamping stroke (Fig. Adjustment of the clamping arm, Pos. 2).
Assembly of the clamping arm-Depressurized1. Start by inserting the clamping arm onto the piston.
2. Next, push the piston downward toward the clamped position. If plumbing is intact this may not be possible because of the valve or check valve. If this is the case, then use the pressurized procedure. Be sure to align clamping arm before proceeding.
3. Then, fasten the fixing nut while holding the piston rod stationary with an Allen key. The tightening torque of the fixing nut for the clamping arm, can be found in the technical characteristics. (Fig. Assembly, Pos. 2).
4. Be sure to unclamp/clamp several times.
5. Finally, check if the clamping point is within the clamping stroke (Fig. Adjustment of the clamping arm, Pos. 2).Note: If the end of the piston rod does not have an allen key, a wrench will be needed to hold the arm stationary while tightening the fixing nut only if the dowel pin/key locking the piston and arm is present. If pin/key is not present, please use the "assembly of the clamping arm-pressurized" procedure.
Disassembly of the clamping arm-Depressurized1. Start by holding the piston rod stationary by adding an open-ended wrench to the arm while loosening the fixing nut counterclockwise.
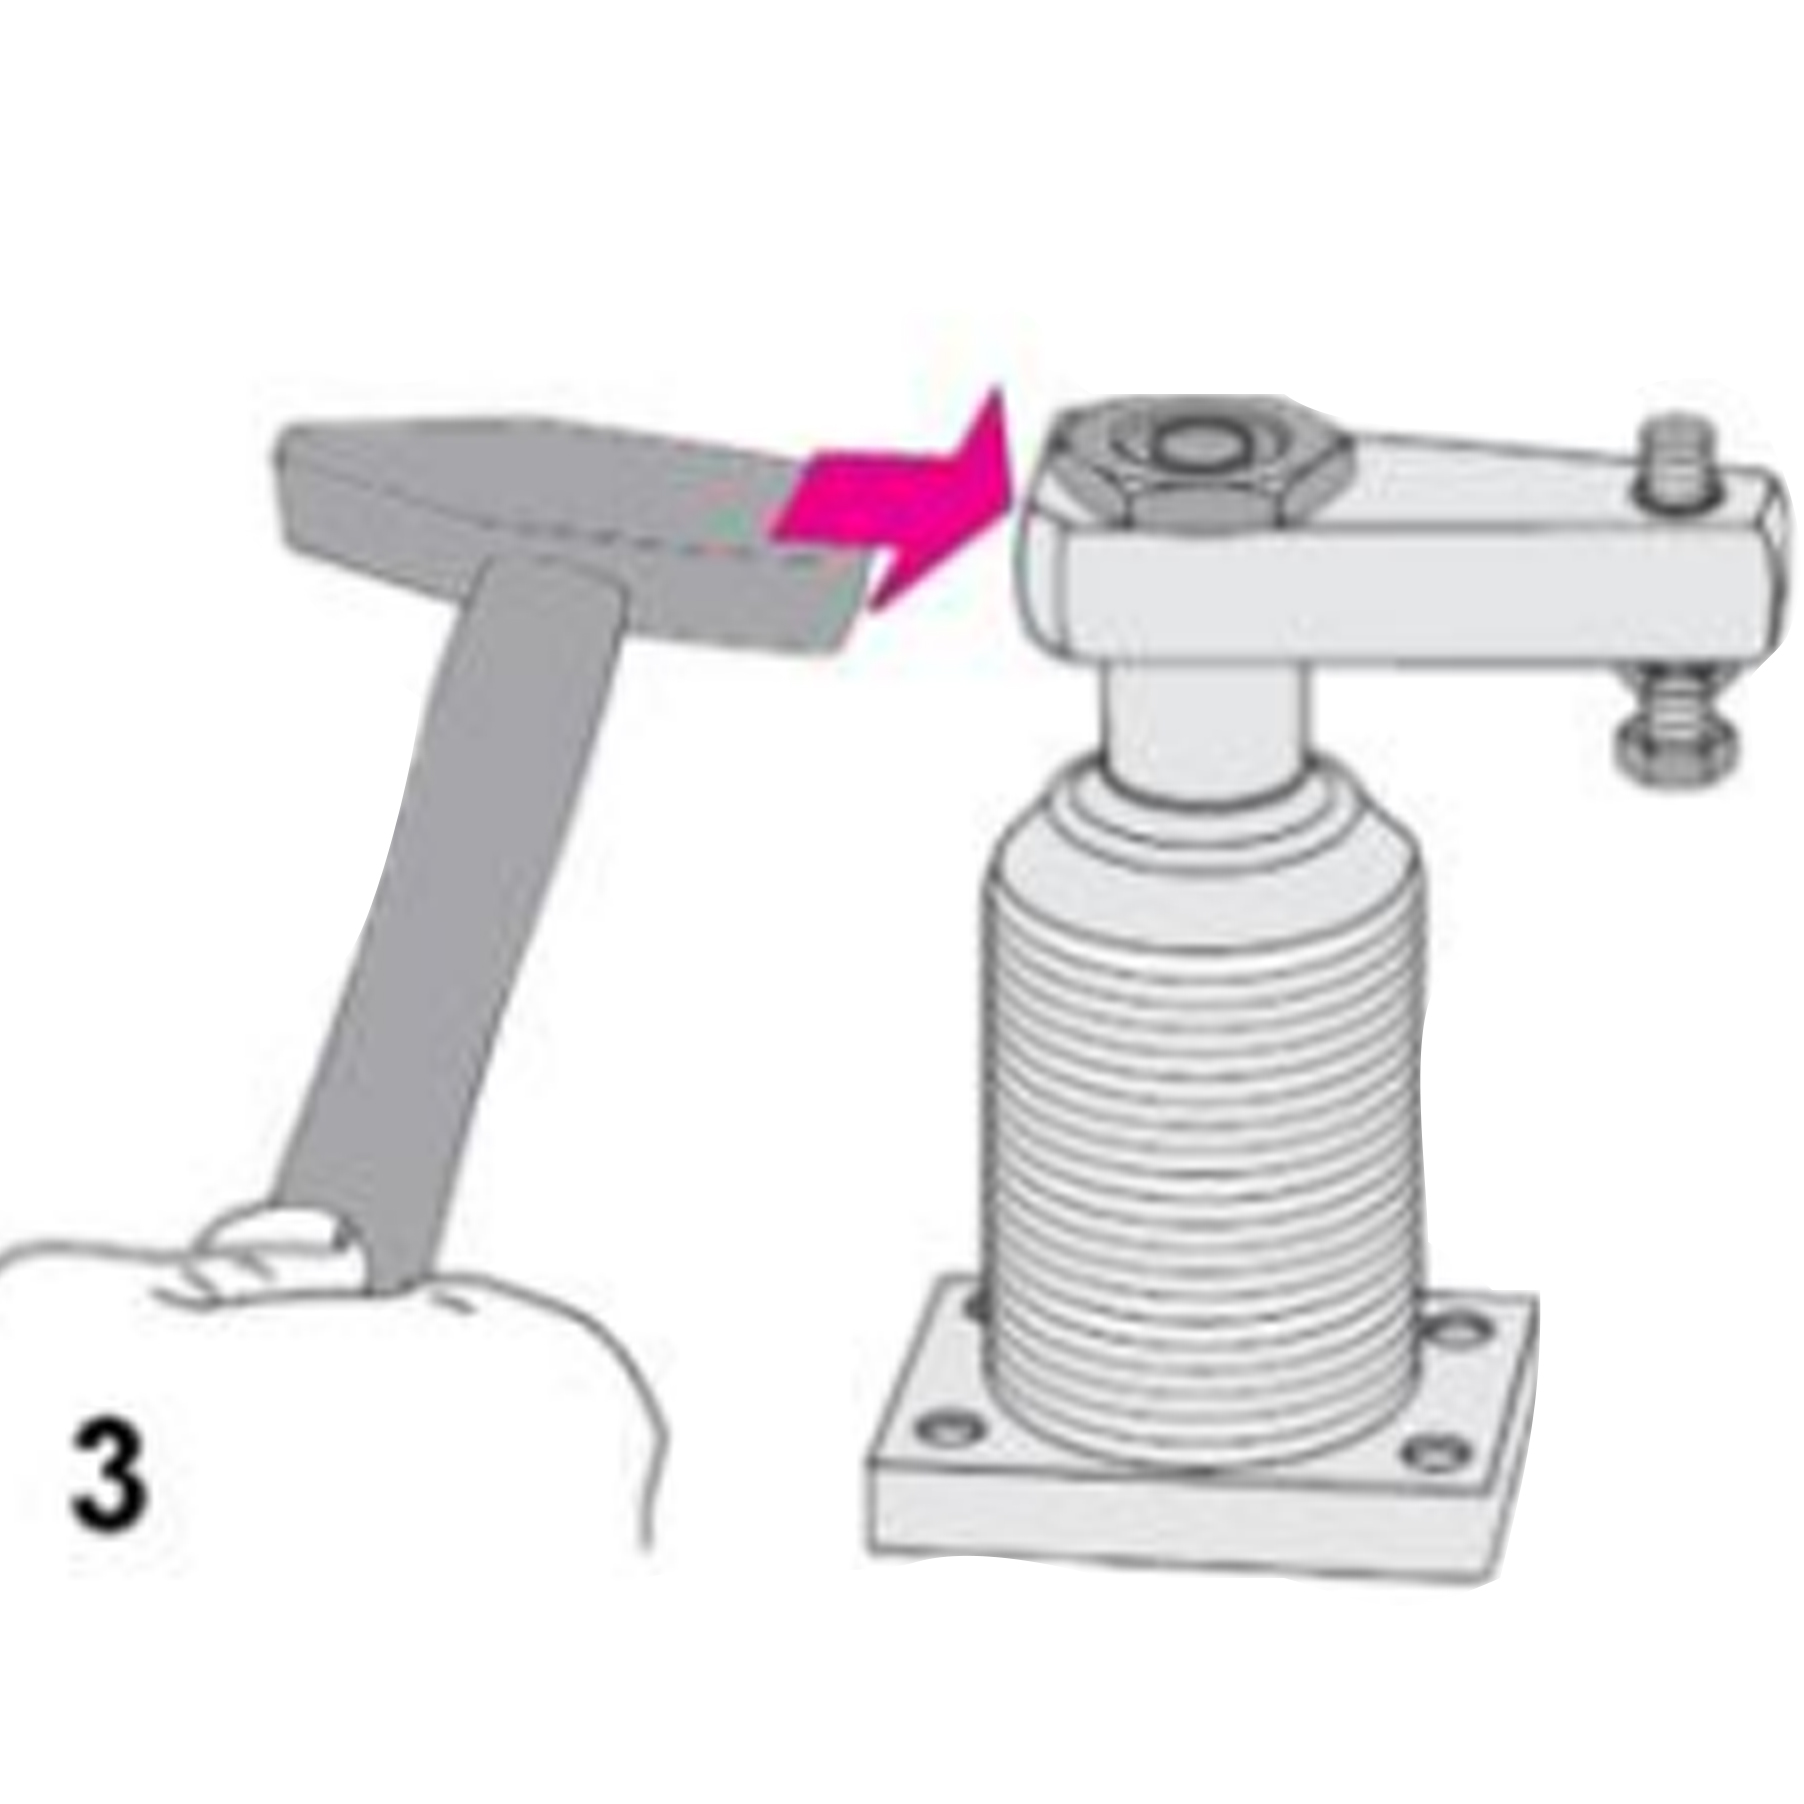
2. Finally, hammer gently on the front face to loosen the clamping arm (Pos. 3).
CAUTION: Heavy hammering can destroy the piston rod guide.
Material Chart
| Material | Heat Treat | Finish |
| 4140 Prehard | - | Black Oxide |
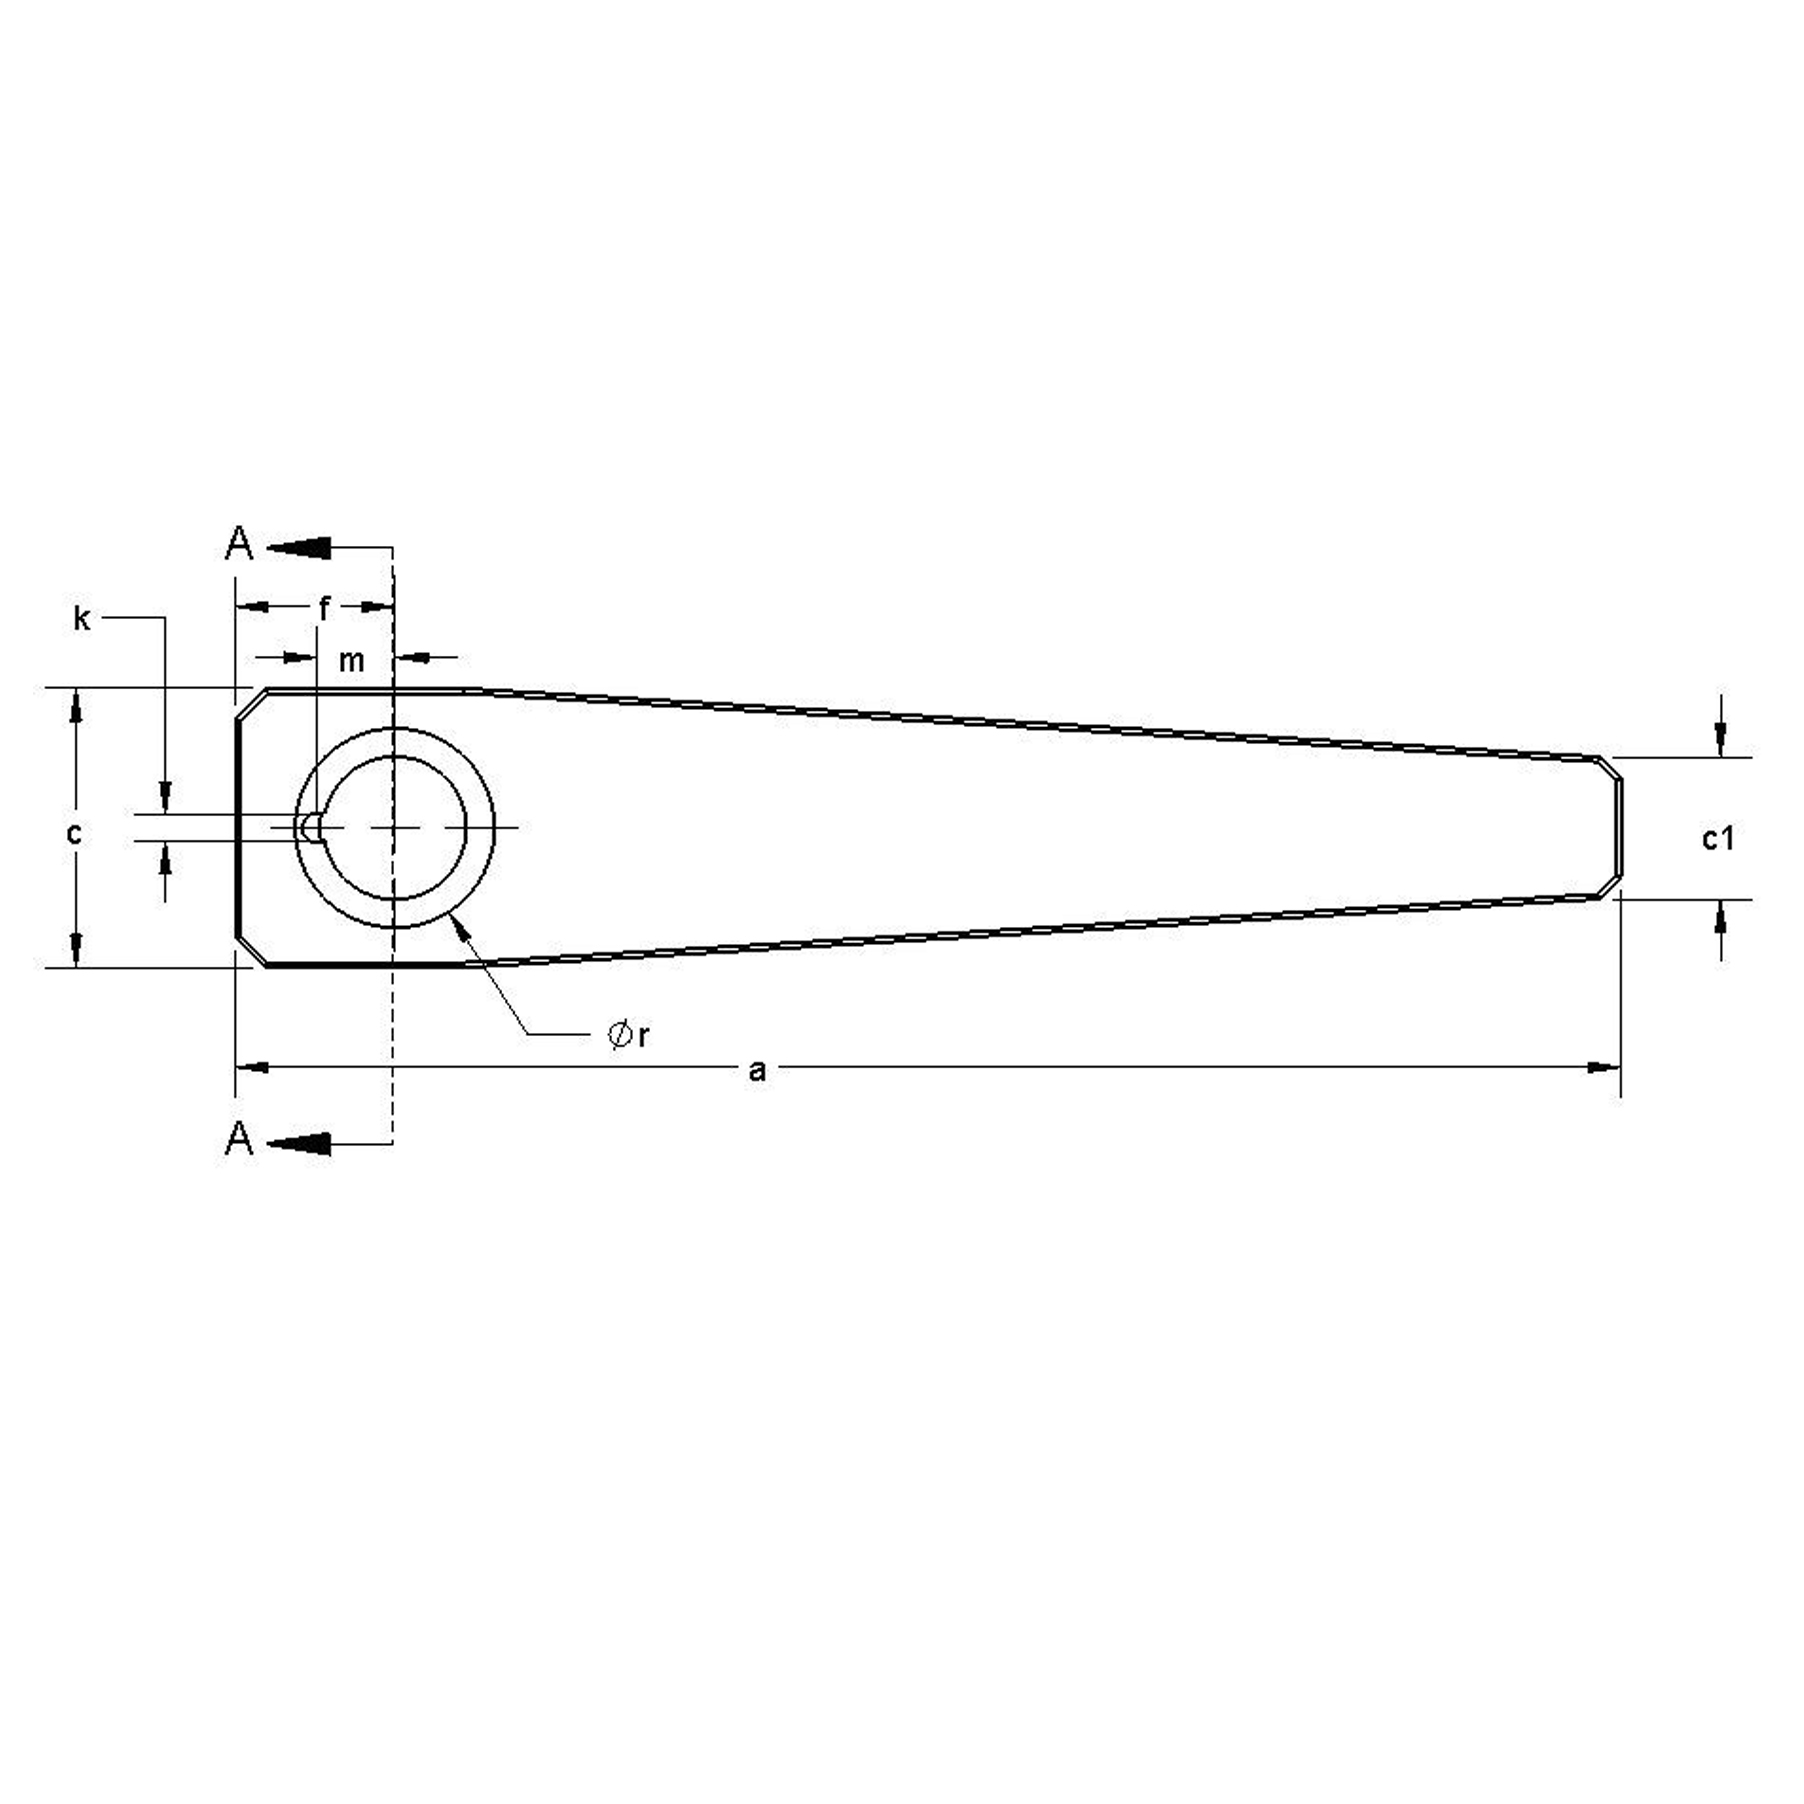
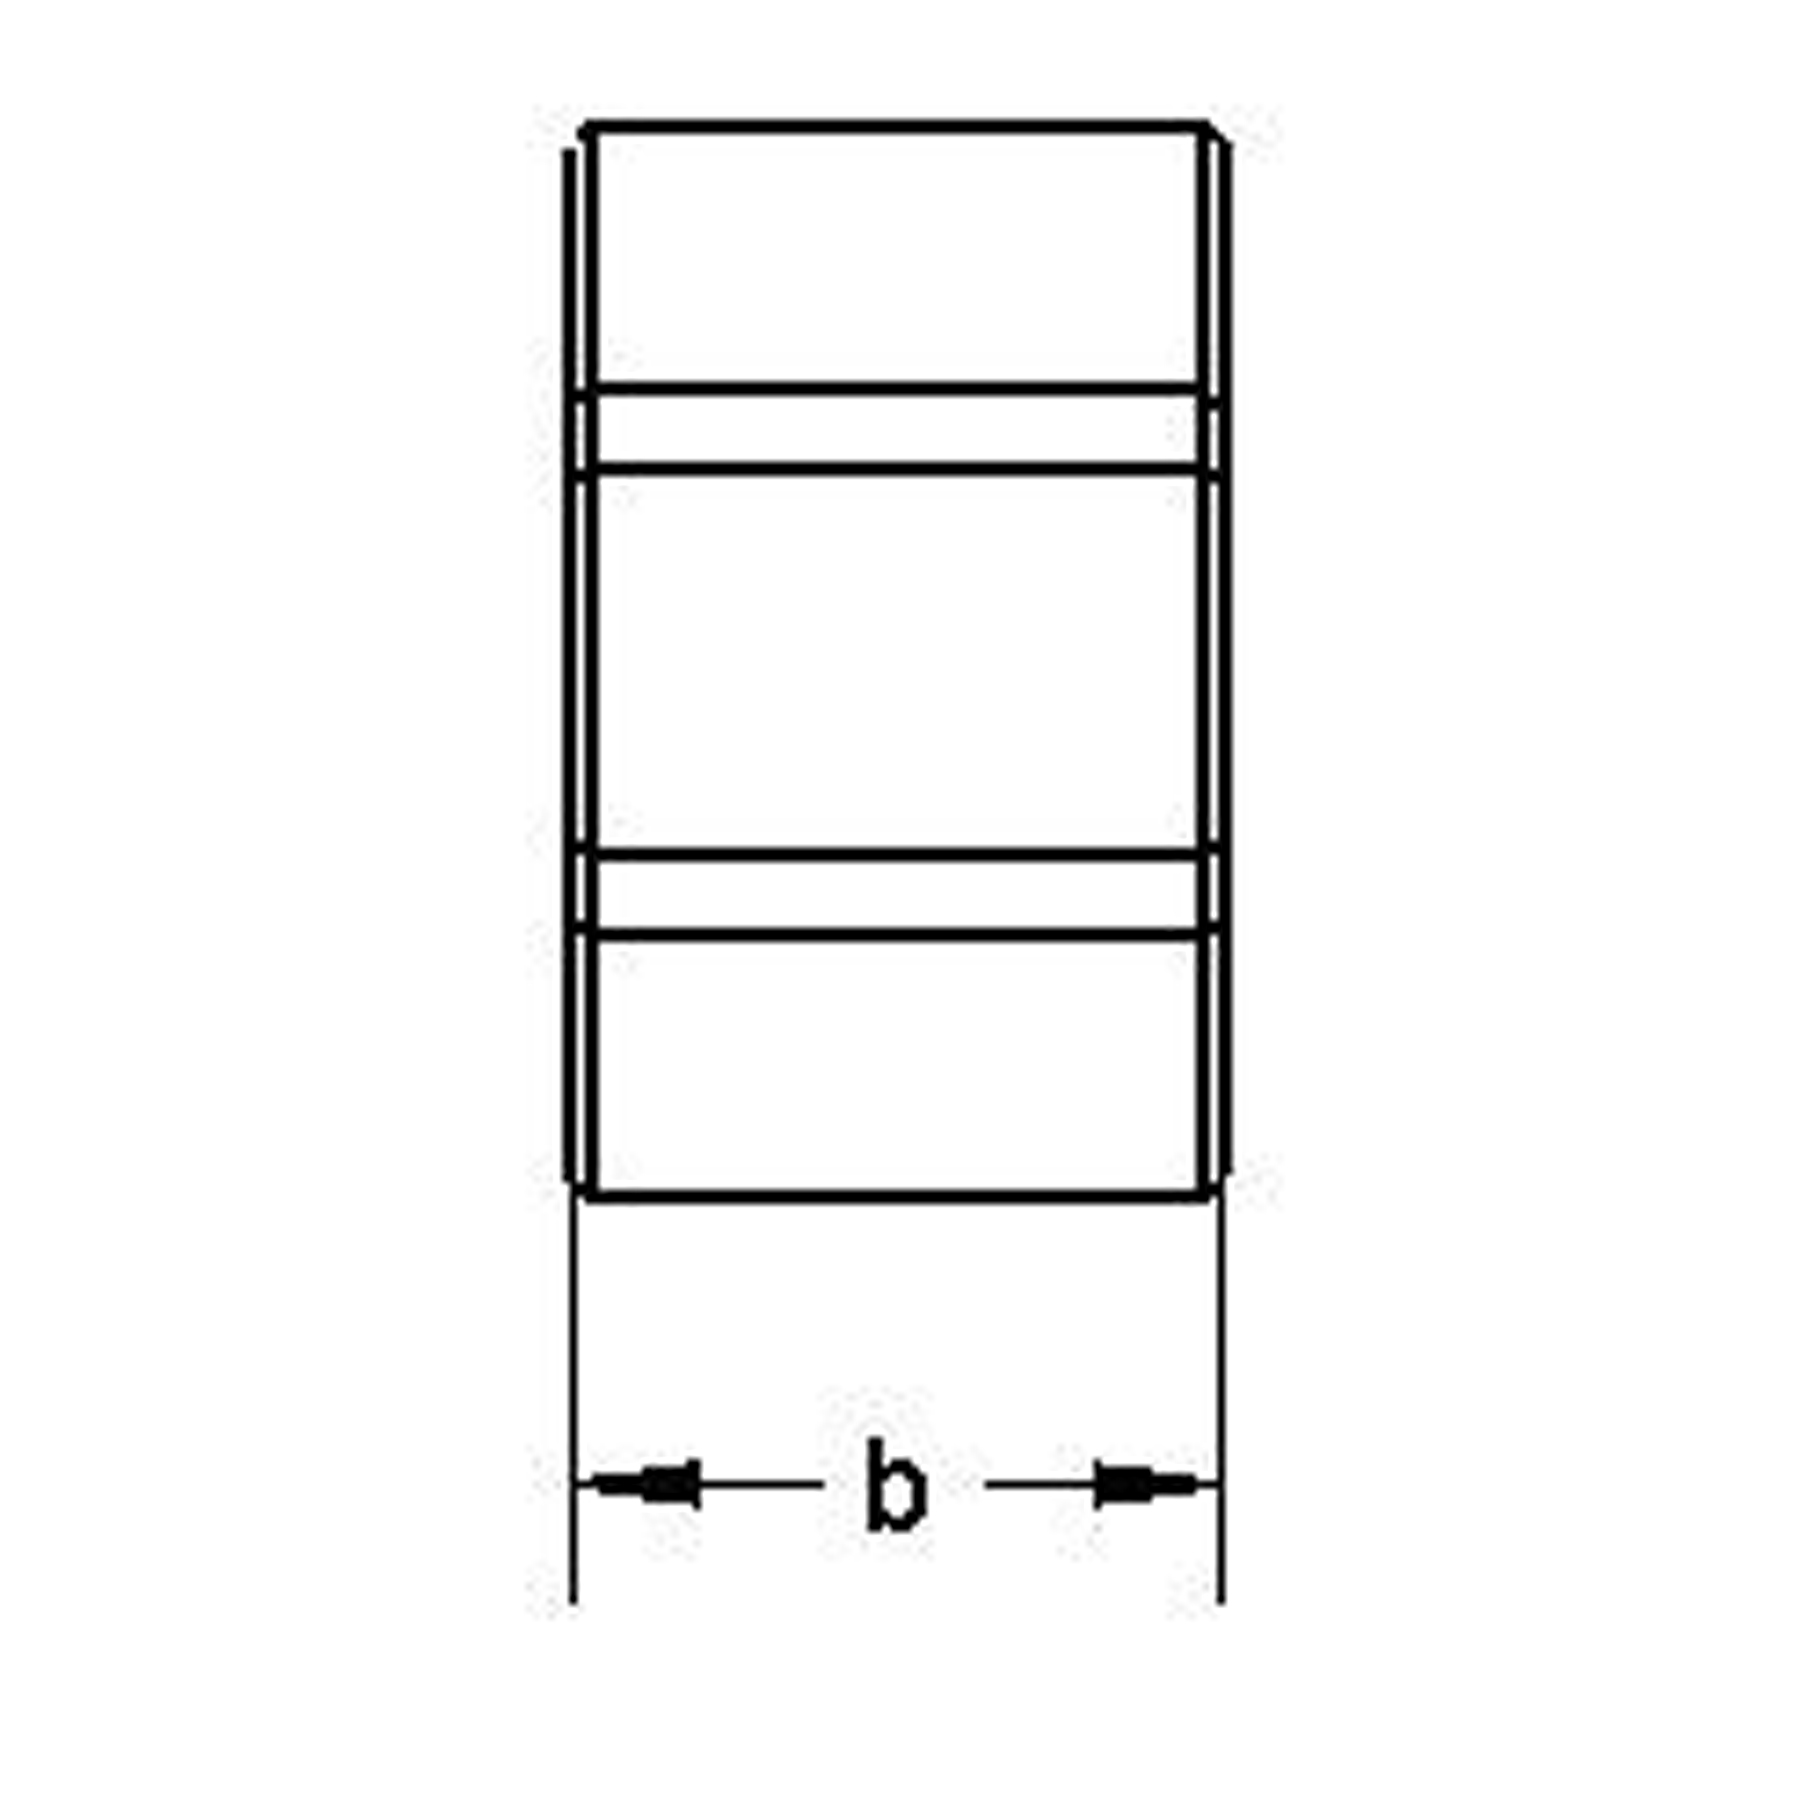
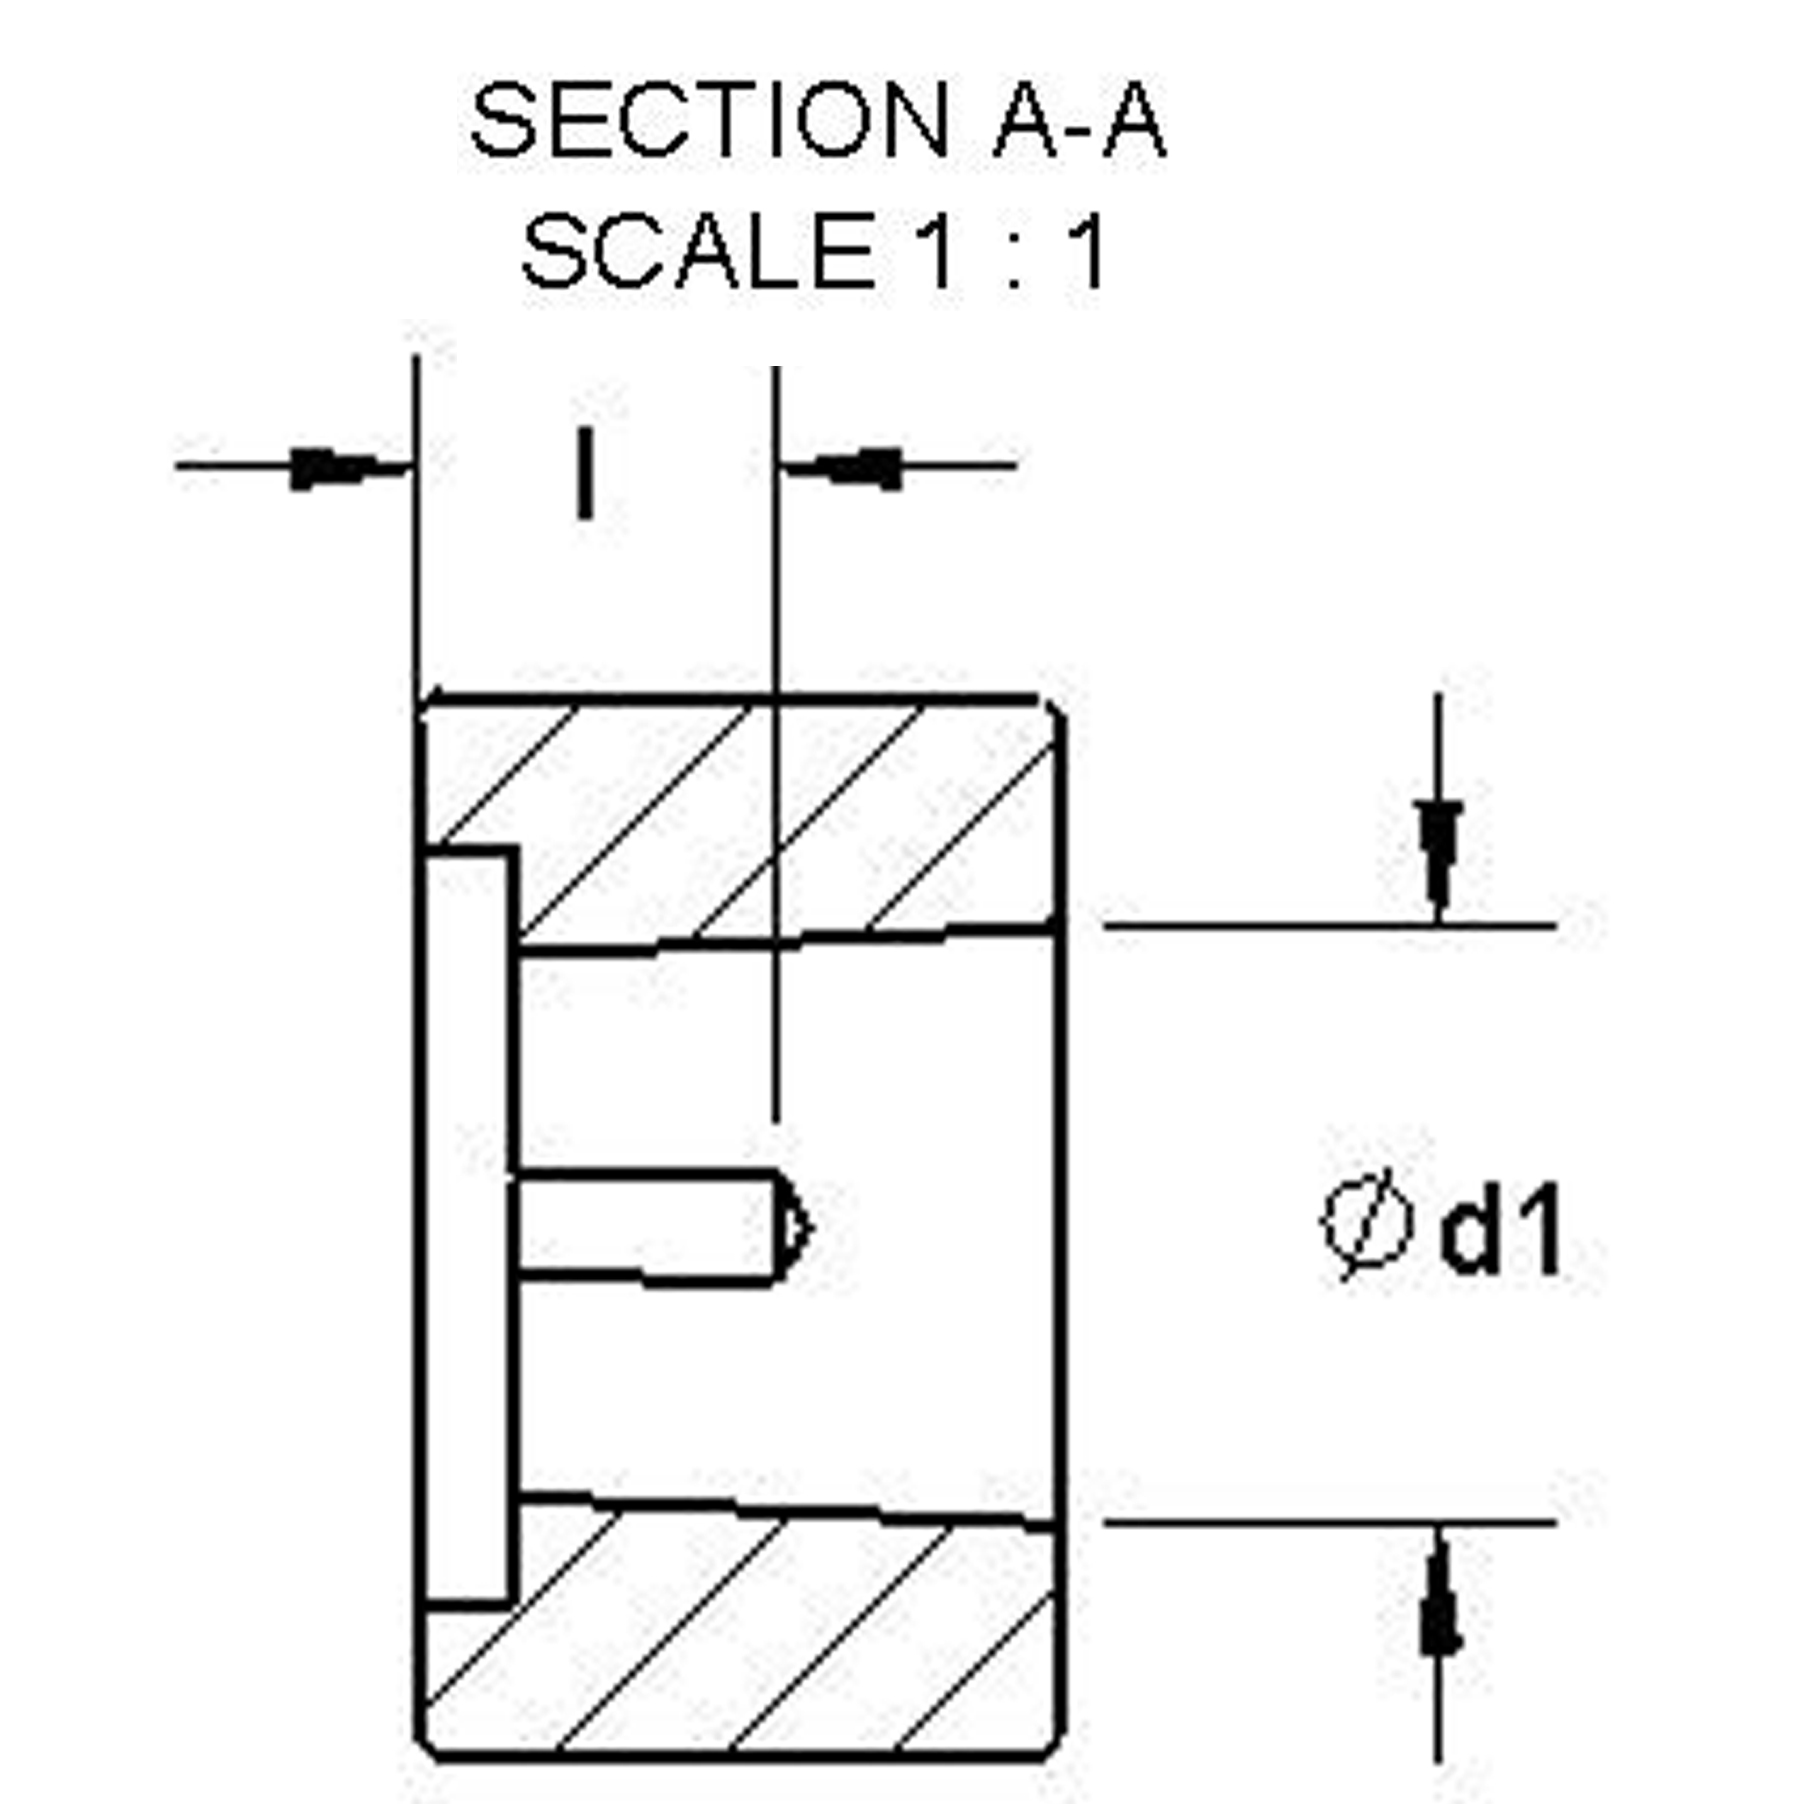
Parts Specification
| Clamp Size | A (mm) | B (mm) | C (mm) | C1 (mm) | Ød1 +0.1/+0.05 (mm) | F (mm) | L +0.5 (mm) | Øk +0.1 (mm) | M ±0.05 (mm) | Ør (mm) | Weight (lbs) | Tightening Torque Nm" |
| 1843 | 139mm | 17mm | 28mm | 14.26mm | 15.8mm | 16mm | 9.5mm | 3mm | 7.8mm | 20mm | 0.11 lbs. | 16 |
Warning:
This product can expose you to materials and/or chemicals including arsenic, lead, and other materials and/or chemicals which are known to the state of California to cause cancer and/or reproductive harm.
For more information, visit www.P65Warnings.ca.gov

 714.897.1700
 Chat
Chat
 Email
Email
 Quotes
 Quick Order


